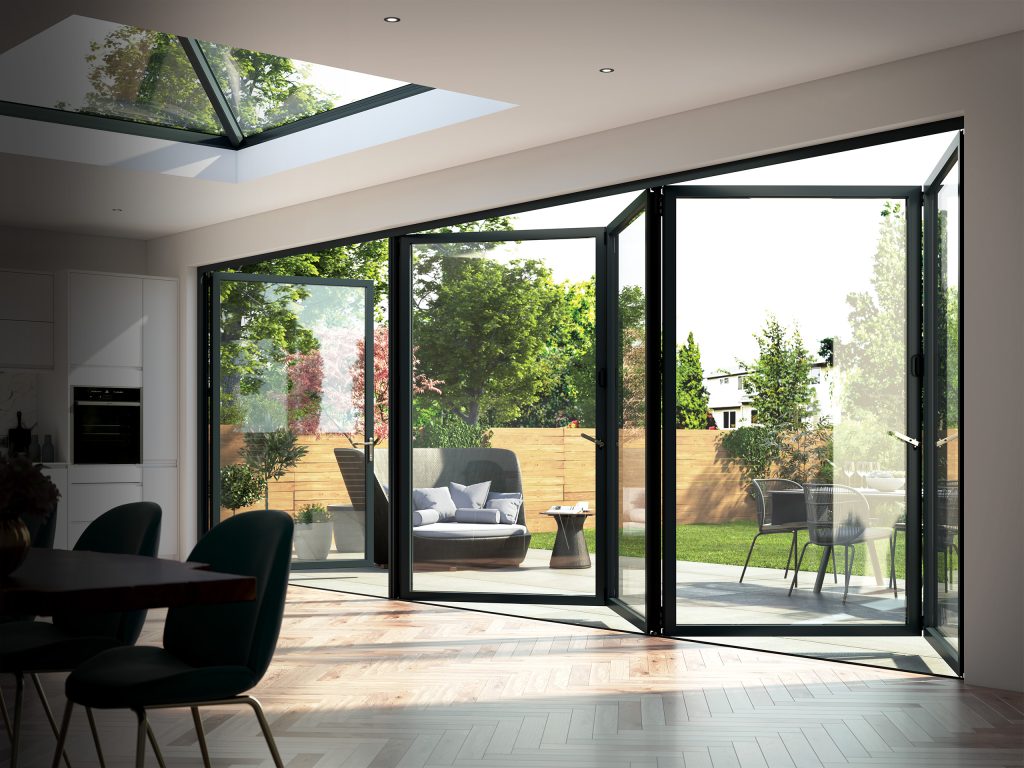

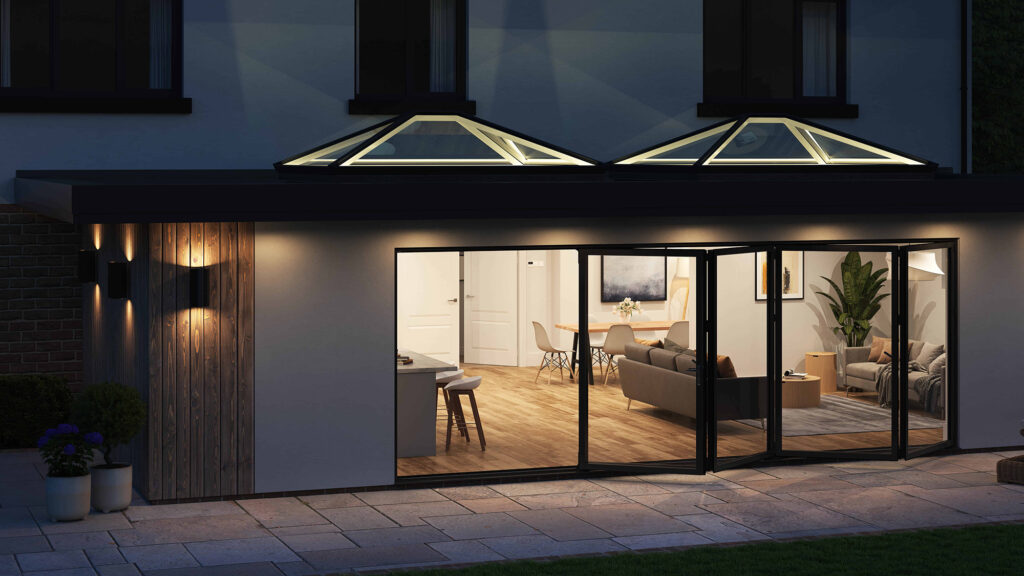
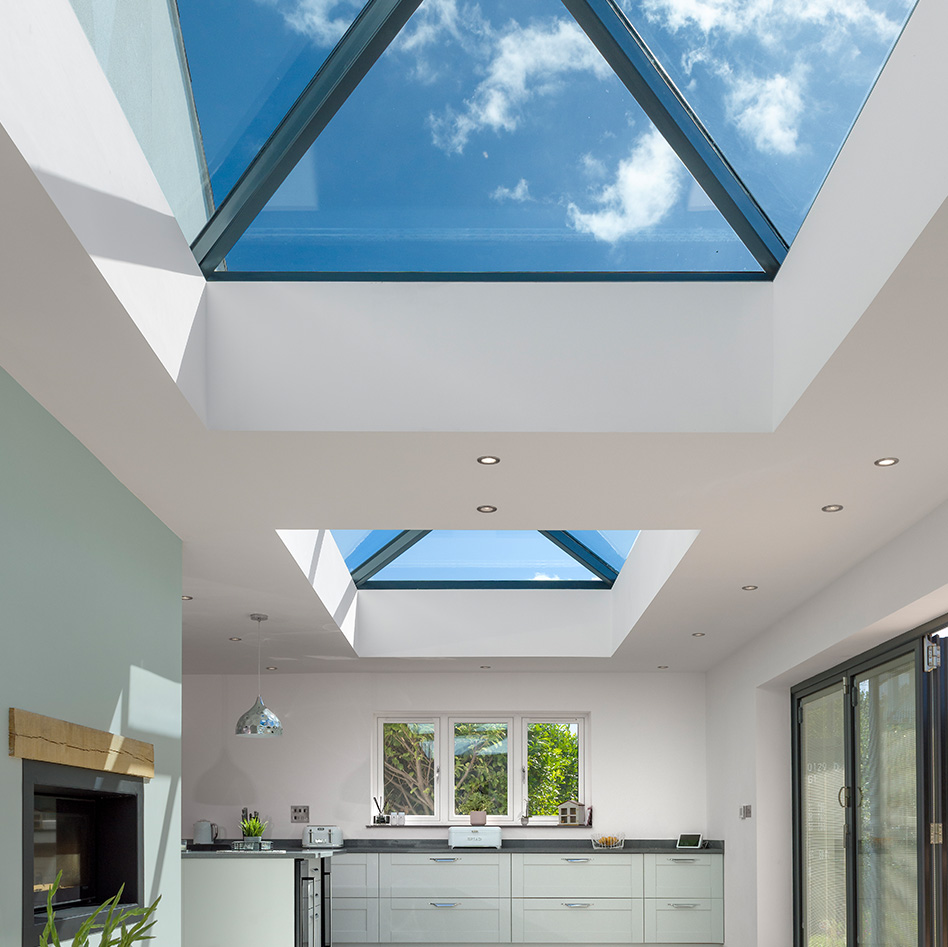
A roof lantern can transform an extension that feels wide but slightly dim into the brightest part of the house. It draws light from above, creates a strong architectural focal point and can make kitchens, dining spaces and garden rooms feel more open. This roof lantern planning guide explains the decisions worth making before you order, so the finished result looks right, performs well and fits the build without costly changes on site.
Start with the room, not the product
The best roof lantern size and specification depend on how the room will be used. A lantern over a kitchen island needs to provide clear daytime light without making the space uncomfortably warm while cooking. Over a dining area, proportion and the view upwards may be the priority. In a garden room, you may want to maximise the connection between the interior, sky and garden.
Look at the roof from inside and outside. A lantern that fills nearly every inch of a modest flat roof can overpower the extension when viewed from the garden, while one that is too small may look lost and provide less impact than expected. As a starting point, centre it over the main living zone rather than automatically centring it on the roof plan. Those two positions are not always the same.
Ceiling height also matters. Roof lanterns create their characteristic sense of volume because the glazed panes rise from the kerb. In a low-ceilinged extension, that extra visual height can be particularly effective. In a very contemporary scheme with a minimal ceiling line, a flat rooflight may be the better fit. The right choice is about the architecture of the whole project, not simply getting the largest area of glass.
Roof lantern planning guide: check permissions early
Many roof lanterns can be installed under permitted development rights, particularly on single-storey rear extensions. However, this is not a blanket approval and the rules should be checked for your property and proposal before work begins.
A rooflight or lantern must not project more than 150mm above the existing roof plane under the relevant permitted development condition. On a flat-roof extension, this usually means measuring from the existing flat roof level to the highest point of the lantern. Planning restrictions can also differ for listed buildings, properties in conservation areas, flats and homes where permitted development rights have been removed by a planning condition or Article 4 Direction.
If your extension itself needs planning permission, include the roof lantern on the submitted drawings. Changing its dimensions, position or height later can create avoidable complications. Your architect, builder or local planning authority can confirm the route for your particular project. A certificate of lawfulness may also provide useful reassurance where permitted development applies but you want formal confirmation.
Planning permission and Building Regulations are separate matters. Even where planning consent is not needed, the work must still meet the relevant Building Regulations requirements.
Get the opening, kerb and structure right
A roof lantern is only as good as the roof opening beneath it. The structural opening needs to suit the exact external kerb dimensions specified by the manufacturer, not an assumed nominal product size. A product described as 1000mm by 1500mm may have a different required builder’s opening once the kerb, upstand and tolerances are accounted for.
Confirm these details before the roof is constructed or cut. Your installer will need to coordinate the lantern specification with the roofer, joiner and structural engineer where required. The roof structure may need trimming around the opening, especially on a larger lantern or where ceiling joists run across the proposed position.
Most systems sit on an insulated upstand, often called a kerb. This raises the roof lantern above the finished roof surface, provides the correct fixing point and helps weather the junction. The kerb height must work with the roof membrane, insulation build-up and drainage falls. It must also be square, level and correctly sized. A beautifully made aluminium lantern cannot compensate for a twisted or uneven upstand.
Avoid placing a lantern where it interrupts a roof drainage route or clashes with an outlet, soil vent pipe, extractor terminal or solar panels. These issues are much easier to resolve on a drawing than after the roof covering is down.
Choose proportions that suit the extension
Rectangular roof lanterns are usually the most versatile option. They can run parallel with bifold or sliding doors to visually extend the room towards the garden, or sit across the room to bring light deeper into the plan. Square formats can look striking over a central table or island, particularly in a compact extension.
The number of glazing sections affects the appearance. Fewer, larger panes generally give cleaner sightlines and a more contemporary look, but they may influence glass weight, access for installation and price. More divisions can suit traditional properties or larger sizes, although excessive bars can interrupt the sky view.
Frame colour should connect with the wider glazing scheme. Anthracite grey, black and aluminium finishes remain popular because they work well with modern doors and windows. A lighter finish can be a better choice for a soft, coastal or more traditional palette. Looking at physical colour samples alongside your roof finish, doors and internal décor gives a more reliable result than choosing from a screen.
Balance light, warmth and solar control
More glass brings more daylight, but it also changes how the room handles heat. South- and west-facing extensions receive the strongest afternoon sun, so solar-control glass is often a sensible investment. It helps reduce solar gain while still allowing useful natural light into the room.
Thermal performance should be considered as a complete assembly. Assess the glazed unit, frame, kerb and the connection between the kerb and roof insulation. A low U-value is valuable, but it should not be the only measure of a good specification. The right glass must also manage glare, reflect excessive heat where necessary and maintain a bright, neutral appearance.
For bedrooms, home offices or rooms overlooked by taller neighbouring properties, consider privacy from above as well as heat control. A roof lantern is naturally open to the sky, but upper-floor windows, nearby buildings and flight paths can affect how private the space feels.
Ventilation is another practical question. Fixed roof lanterns are ideal when the room already has suitable opening doors, windows or mechanical extraction. In a kitchen extension, make sure the ventilation strategy accounts for cooking moisture and heat. Opening rooflights or electrically operated options may be better where extra purge ventilation is needed, although they are a different product category to a fixed lantern.
Specify for safety and Building Regulations
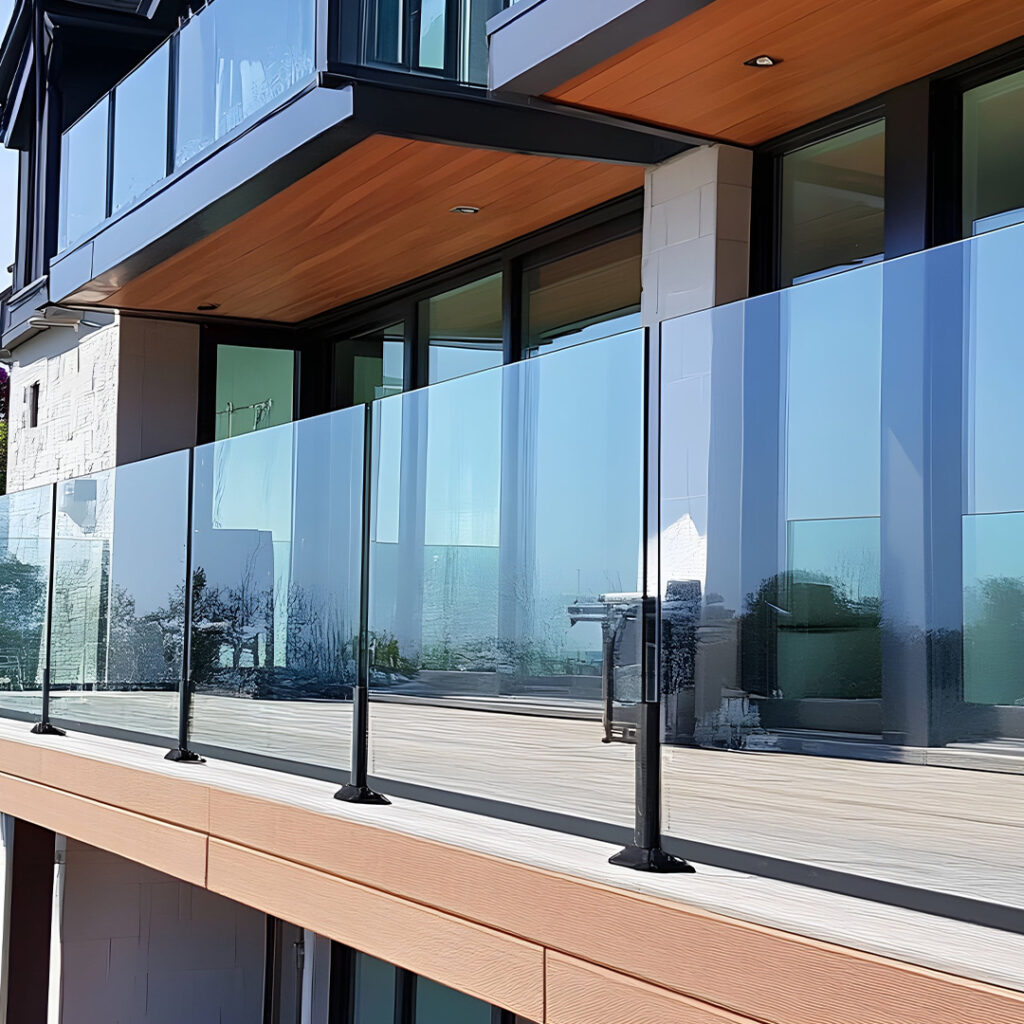
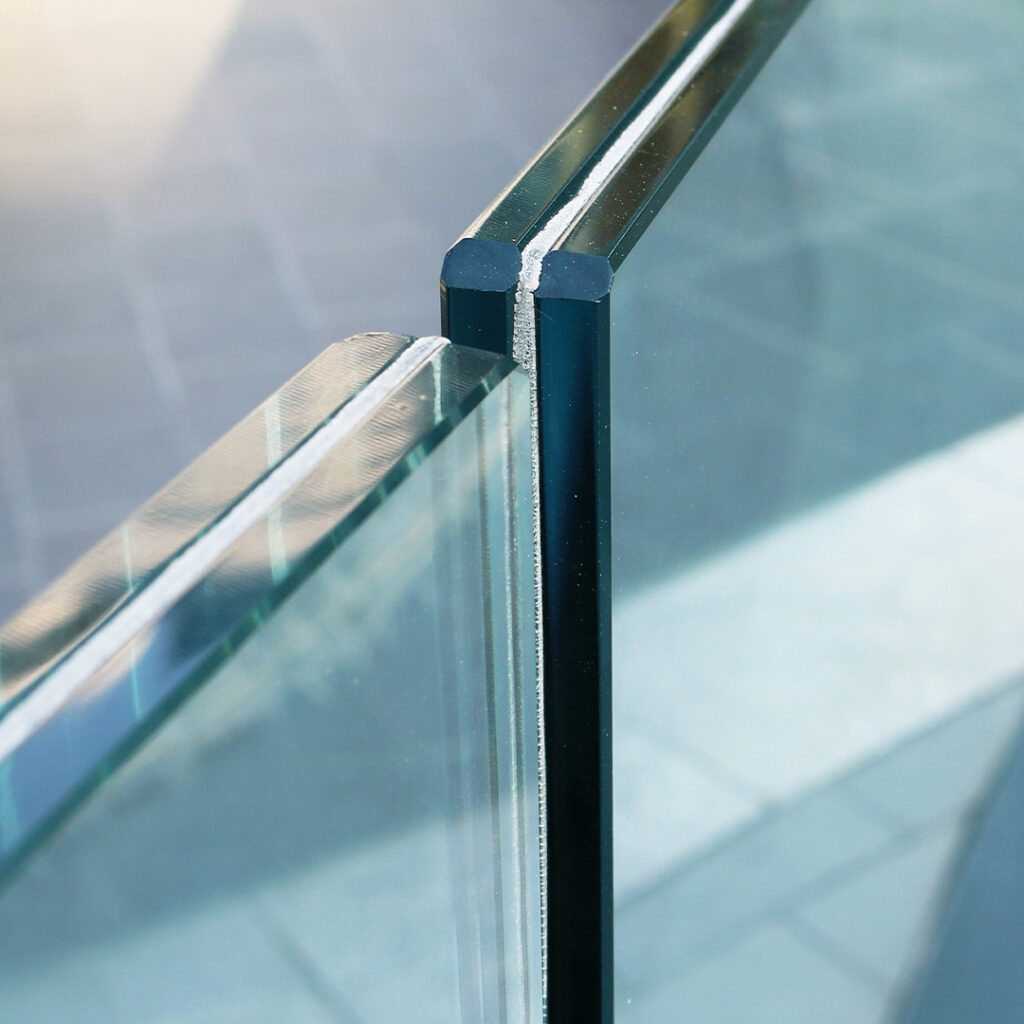
Overhead glazing has specific safety requirements. Laminated inner panes are commonly used because, if breakage occurs, the glass remains held together rather than falling into the room. The final glass build-up should be selected in line with the location, size and applicable regulations.
Your Building Control route will depend on the project. For a new extension, the roof lantern is normally considered as part of the wider build. For replacement or alteration work, your contractor should confirm who is responsible for notification and compliance. Keep product data, glazing specifications and installation information with the project records. They are useful for Building Control, future maintenance and eventual sale of the property.
Do not overlook access. Larger glazed units are heavy and awkward to handle. Before ordering, check that the delivery route and installation route are realistic. A narrow side passage, limited parking or a rear extension with no external access may require additional labour or lifting equipment. This is particularly relevant for trade teams programming several deliveries and installations across a busy site.
Plan the installation sequence
A roof lantern should be one of the later elements in the roof programme, once the structural opening, insulated kerb and weatherproof roof covering are ready. The roof surface must be properly finished around the upstand before the frame is fitted. Rushing this stage can lead to leaks that are incorrectly blamed on the lantern itself.
Check the supplied drawings before installation and follow the manufacturer’s instructions for fixing positions, sealants and glazing order. Different systems use different methods, so details should never be improvised. After fitting, inspect the frame lines from inside and out, confirm drainage paths remain clear and remove protective films only when surrounding works will not damage the finish.
Horizon Windows and Doors can help homeowners and trade buyers compare premium roof lantern options, technical specifications and bespoke sizes before an order is placed. That early conversation is often where the most expensive site issues are avoided.
Budget beyond the headline price
The roof lantern itself is only one part of the cost. Budget for the structural opening, kerb construction, insulation, roof covering alterations, installation labour, access equipment and any electrical work if you choose integrated blinds or powered ventilation elsewhere in the roof design.
A lower-priced unit may be suitable for a straightforward project, but compare frame quality, glass specification, weathering detail, warranty and required opening dimensions before deciding. For a long-term extension, clean sightlines, reliable seals and strong thermal performance can offer better value than a small initial saving.
Choose the lantern early enough to put accurate dimensions into the drawings, but order only once the opening and roof build-up are confirmed. With the right product, properly coordinated trades and a specification matched to the orientation of your home, a roof lantern becomes more than an attractive feature. It gives the new room the light, scale and everyday comfort that make an extension feel truly worth building.