



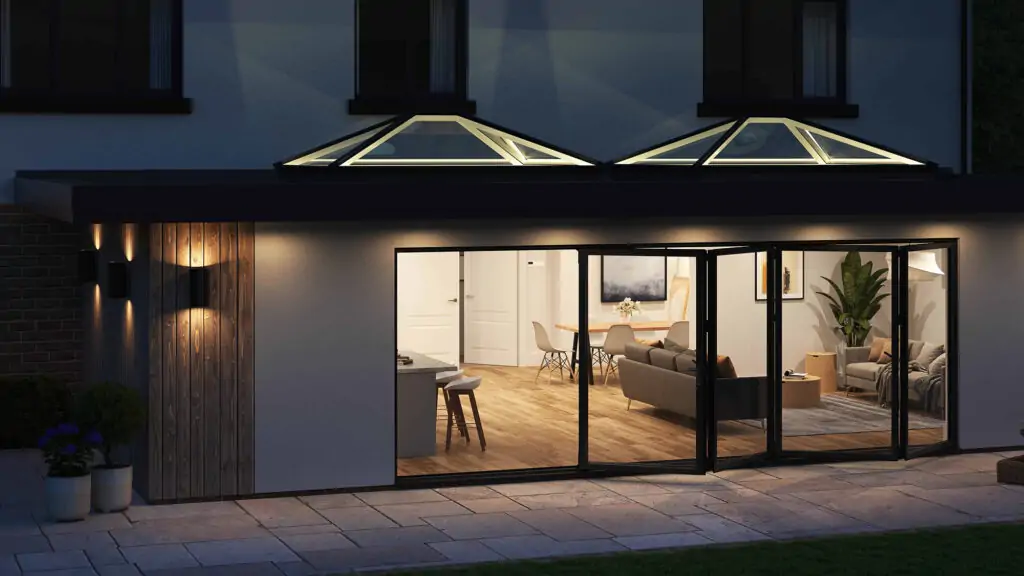
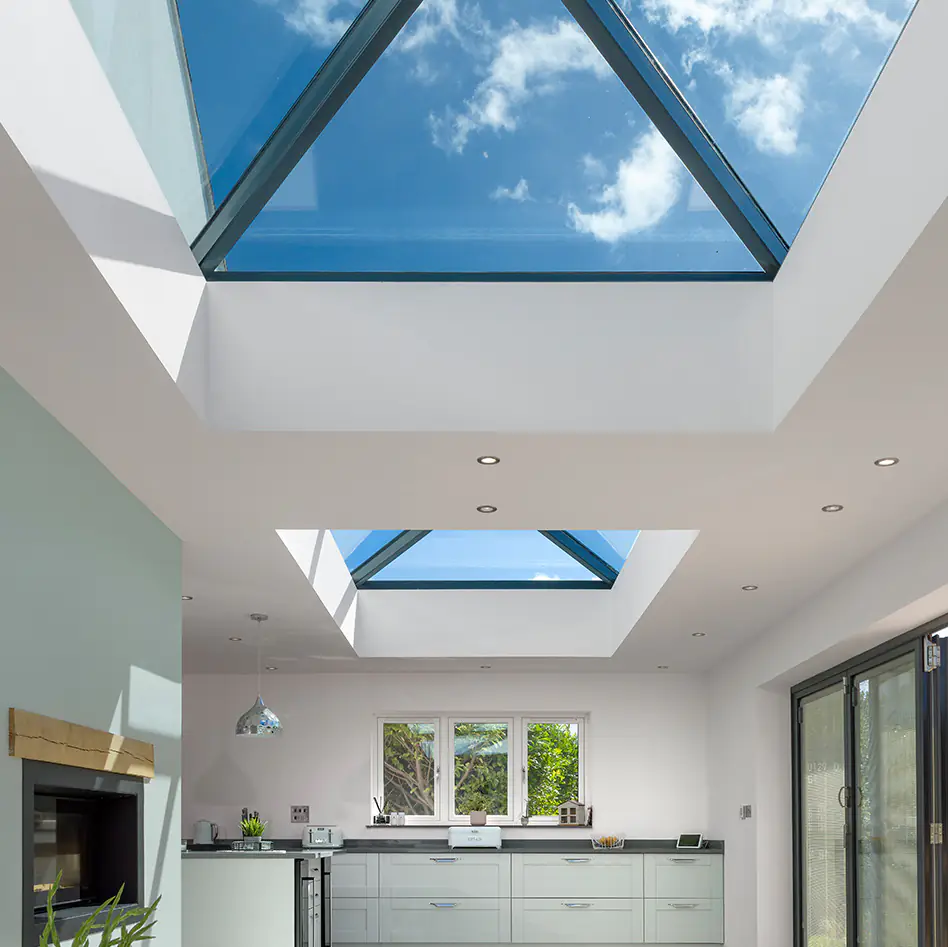

A rooflight can transform a dark extension, kitchen or garden room, but the result depends on one detail being right before you order: the opening. To measure rooflight opening dimensions correctly, you need to identify whether you are measuring the structural aperture, an existing upstand or the overall roof space. These are not interchangeable sizes, and confusing them can lead to delays, extra site work and a rooflight that simply will not fit.
For a new build or planned extension, your builder will usually form the opening to suit the rooflight specification. For a replacement rooflight, the existing aperture must be checked carefully. In both cases, work from the product’s technical information rather than assuming that its advertised size is the size of the hole in the roof.
Start by identifying the measurement you need
The phrase “rooflight size” can mean several things. A fixed flat rooflight may be described by its structural opening size, external frame size, glass size or kerb size. Roof windows and opening rooflights can use a different convention again. Always confirm the manufacturer’s terminology before comparing measurements.
The structural opening is the clear hole formed in the roof deck or supporting structure. It is normally the key measurement for a rooflight installed over an upstand. The external frame dimensions are larger because the frame overlaps the upstand, helping to shed water away from the opening. The visible glass area will be smaller still.
This distinction matters when choosing a sleek, minimal-framed unit. Two rooflights with the same advertised opening size may provide different daylight areas, frame overlaps and installation requirements. The best option depends on the look you want, the build-up of your roof and how the rooflight will be supported.
How to measure rooflight opening dimensions
Use a quality tape measure, take your time and record every figure in millimetres. If the opening is already built, measure it from the inside edges of the finished structural aperture or upstand, following the installation guidance for your chosen rooflight.
Measure the width in three places: at each end and through the centre. Repeat this for the length. Older properties, timber openings and hand-built upstands are not always perfectly square, even when they look straight from below. Use the smallest measurement in each direction when checking whether a product can fit.
Next, measure the diagonals from corner to corner. If they differ noticeably, the opening is out of square. A small variation may be manageable, but it should be discussed before ordering, especially with a large glazed rooflight or a made-to-measure unit. A square, level base supports the frame evenly and makes weatherproofing far more straightforward.
Finally, check the level of the opening or upstand. Water must drain away from the rooflight, not sit against its frame. Most flat rooflight systems require a correctly formed upstand and a minimum pitch or fall in the surrounding roof covering. The rooflight itself may look flat, but the waterproofing details must still direct rainwater away effectively.
Record more than width and length
When measuring an existing roof, note the upstand height, roof covering depth and the available clearance around the opening. These details affect whether the frame will sit properly and whether there is room for flashing, insulation and membrane upstands.
For a replacement project, take photographs of the current installation before it is removed. They can help your installer or supplier identify potential issues, such as a poorly formed kerb, an unusually thick roof build-up or a frame that has been sealed over more than once.
Allow for the upstand or kerb
Many flat rooflights are installed onto an insulated upstand, sometimes called a kerb. This raised support brings the rooflight above the roof finish and creates the correct surface for fixing and weathering. It is typically built by the roofer or supplied as part of a compatible system, depending on the product.
Do not measure only the internal plasterboard opening and assume it represents the rooflight aperture. The upstand has its own external dimensions, and the rooflight frame needs a specified overlap around it. That overlap is essential for secure fixing and weather resistance.
For example, if a rooflight is designed for a 1000 mm by 1500 mm structural opening, its outside frame may be substantially larger. Ordering a 1000 mm by 1500 mm unit without checking the manufacturer’s stated opening requirement could leave you with an incorrect fit. Product drawings will show the relationship between the clear opening, kerb and frame.
Where an upstand is being constructed, ensure it is straight, insulated and finished to the required height before the rooflight arrives. Making last-minute adjustments with packers, excessive sealant or trimmed timber is rarely a good solution. It can compromise the appearance, drainage and warranty conditions of the installation.
Measure a rooflight opening for a new build
With a new extension, the most efficient sequence is to select the rooflight first, then form the roof opening to the exact technical specification. This gives you more choice and prevents the design being limited by an arbitrary aperture size.
Think about the ceiling layout as well as the roof plan. A rooflight positioned above a dining table, kitchen island or stairwell can make a stronger visual impact than one centred purely between rafters. However, moving or trimming structural members must be designed properly. Never cut roof joists, rafters or steelwork to accommodate glazing without approval from the relevant structural professional.
The internal reveal also affects the finished result. A deep roof build-up can create a pronounced shaft beneath the rooflight. Straight reveals maximise the apparent size of the opening, while splayed reveals can spread light further into the room. This is a design choice worth agreeing before plasterboarding begins.
Common measuring mistakes to avoid
A rooflight order should not be based on a single measurement taken at the ceiling line. That is often the most visible dimension, but it may not be the size that governs the installation.
The most frequent issues are:
- measuring the glass or visible daylight area rather than the structural opening
- using the largest point of an uneven aperture instead of the smallest
- mixing up width and length on a rectangular rooflight
- overlooking the required frame overlap on an upstand
- ordering before checking roof membrane, insulation and flashing details
- assuming a replacement product will fit because its outer dimensions look similar
It is also worth checking how the supplier labels orientation. Some technical drawings show width first and length second, while others refer to a hinged side, opening direction or rafter span. For electrically opening rooflights, consider where cables, controls and rain sensors will be located before finalising the opening.
When standard sizes work and when bespoke is better
A standard-size rooflight can be a cost-effective, quick route to brightening a new room, particularly where the roof structure can be planned around it. It may also simplify lead times for trade projects with a fixed programme.
Bespoke sizing is often the better choice when replacing an unusual existing rooflight, working around structural constraints or creating a feature opening. It can reduce the need for disruptive alterations to a finished roof and help achieve balanced sightlines in a carefully designed extension. The trade-off is that made-to-measure glazing normally needs more detailed sign-off and can involve a longer lead time.
Before ordering, compare the rooflight’s required structural opening with your measured dimensions, not just its headline product size. Horizon Windows and Doors can help customers match product drawings and configuration options to their project, giving homeowners and installers greater confidence before work reaches site.
A final check before you place the order
Ask your builder, roofer or installer to verify the measurements against the selected product drawing. This is particularly valuable where an opening has already been formed, where the roof is not perfectly square or where the rooflight is large and heavy.
A few careful checks at the measuring stage can protect the finish of the whole project. Get the opening right, and your rooflight is ready to do what it should: brighten your home, open up the room and make the most of every square metre beneath it.