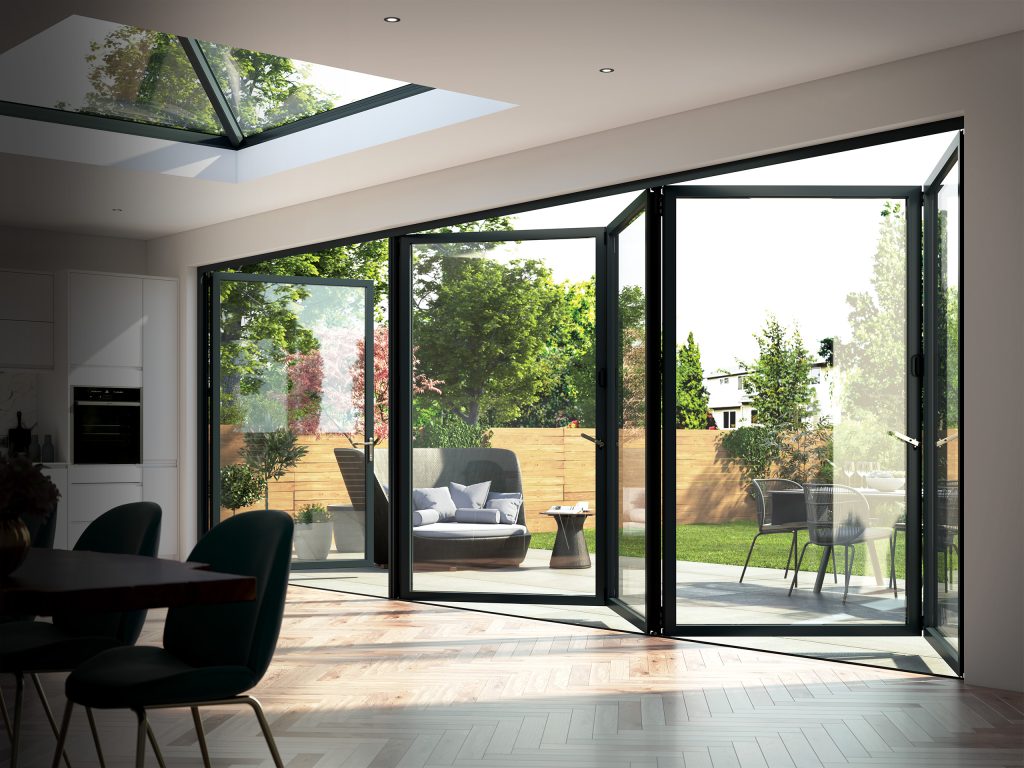
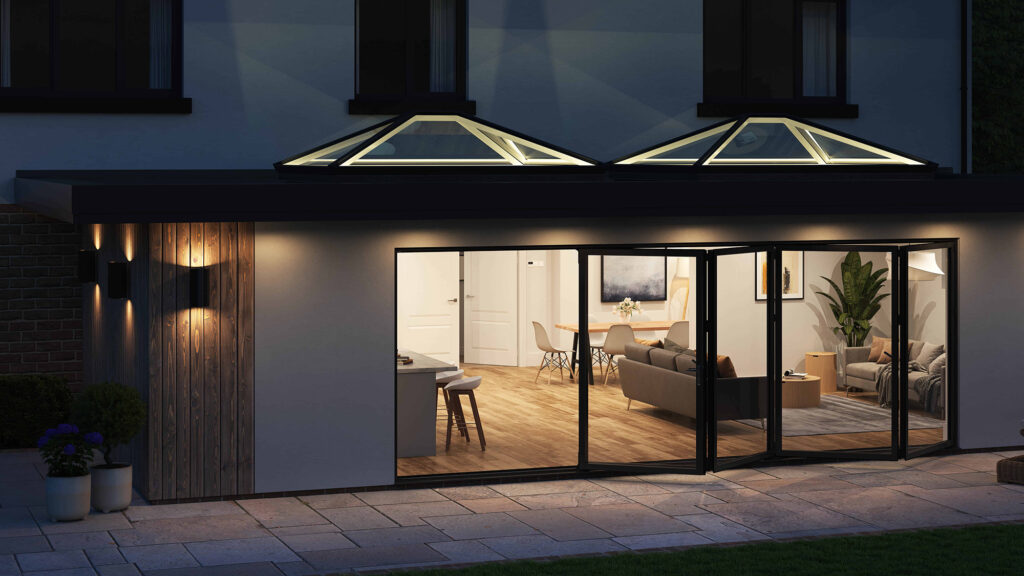
A well-planned kitchen extension can feel twice as large without adding a single extra cupboard. The difference often comes down to the rear glazing. This kitchen extension sliding doors example shows how a considered door layout can bring the garden into the room, protect usable wall space and create a bright, practical family kitchen.
Picture a typical rear extension to a Victorian or 1930s home: a 5.8m-wide opening facing the garden, a new kitchen island positioned centrally, and a dining area nearest the glass. Rather than filling the opening with several narrow panes, the homeowner chooses a three-panel aluminium sliding door system, with two panels stacking behind one fixed panel. The result is a broad opening for summer entertaining and large areas of uninterrupted glass when the doors are closed.
It is a simple idea, but the specification behind it matters. Panel sizes, opening direction, threshold detail and glazing choice all affect how the finished extension looks and works every day.
Kitchen extension sliding doors example: a practical layout
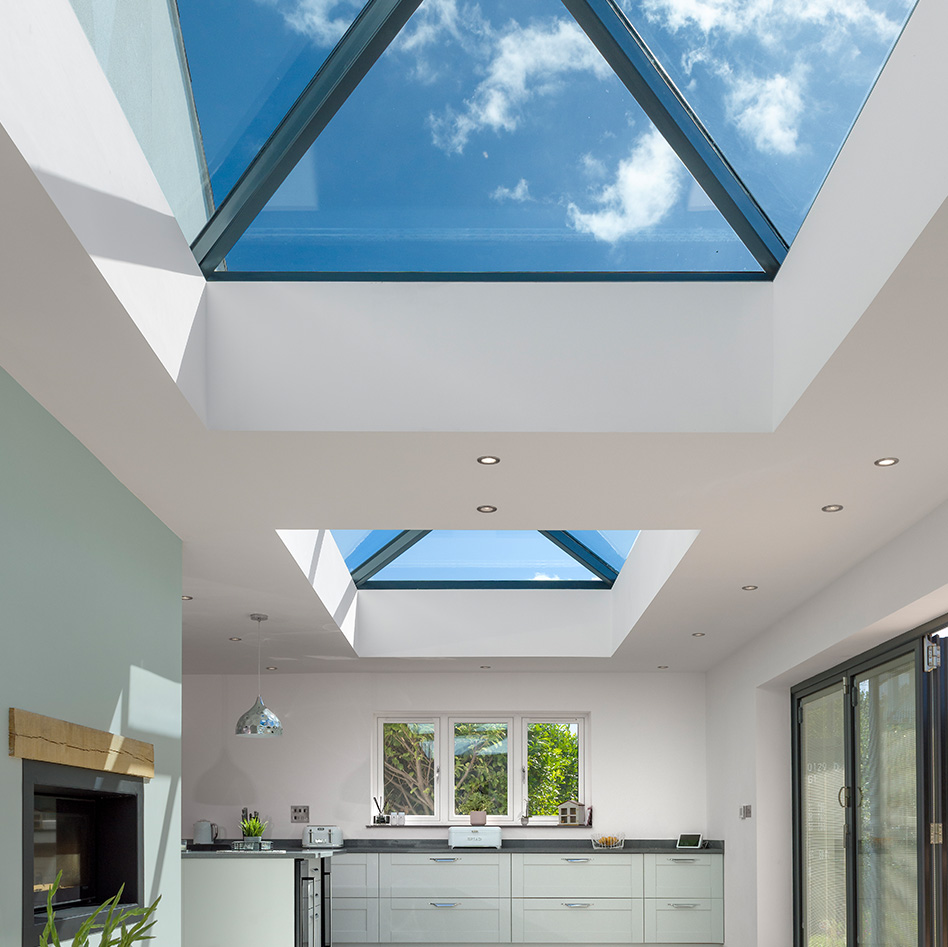
In this example, the extension has a flat roof with a rooflight above the kitchen zone. Sliding doors run across the garden-facing elevation, while a short return wall accommodates tall kitchen units and conceals structural steelwork. This is a strong arrangement because it gives the kitchen a solid, practical backdrop and reserves the best view for glazing.
The three-panel door measures approximately 5.8m wide by 2.2m high. Each sash is therefore just under 2m wide, depending on the chosen system and frame allowances. Two sliding panels move in the same direction, stacking neatly behind the fixed panel at one end. When open, around two-thirds of the aperture is available as a clear route to the patio.
For a family that mainly wants daylight and a garden view, this configuration is often more effective than a fully opening alternative. The fixed pane delivers a clean picture-window effect, while the moving panels provide generous access when needed. It also avoids the swing space required by hinged doors and the stacked panels associated with bifolds.
Why the layout works
The key is to place the opening where it supports the room rather than dictating it. A wide glazed elevation suits an open-plan kitchen-diner because it creates a natural progression from cooking, to eating, to the garden. The island can face the view, allowing the person preparing food to remain part of the conversation.
Keeping tall cabinetry on a side wall is equally valuable. Refrigeration, ovens and pantry storage need uninterrupted wall space. If glazing is added on every elevation without a plan, the extension may look impressive on drawings but leave too little room for a kitchen that functions properly.
The rooflight above the kitchen balances the light from the rear doors. Sliding doors bring in lower, forward-facing light and views, while an overhead rooflight brightens the centre of the room. Together, they reduce the risk of a deep extension feeling shaded around the worktop and island.
Choose panel numbers before choosing the doors
The most common starting point is to ask how wide the opening is. A better question is how you want to use it. A two-panel sliding door can give the cleanest sightlines, but one panel will usually be fixed and the opening will be limited to half the overall width. For a 4m opening, that means approximately 2m of clear access.
A three-panel system provides more flexibility. It is a popular choice for openings of around 4.5m to 6m, particularly where homeowners want a substantial opening without extremely large individual panels. The central meeting lines are visible, but modern aluminium systems keep these comparatively slim.
Four-panel arrangements can work well across wider extensions, especially where two sets of sliders meet in the centre or where the design calls for a symmetrical elevation. However, more panels mean more vertical frame lines. They can also increase the amount of track and hardware to consider. Bigger is not always better if the garden elevation is only modest in width.
For this kitchen extension sliding doors example, three panels strike a practical balance: expansive glazing, useful opening space and panel weights that remain realistic for the selected system. Your fabricator or supplier should confirm maximum sash dimensions and glass weights before the design is finalised. These limits vary between systems.
Opening direction is a small decision with a big impact
Decide where stacked panels will sit by looking at the patio, furniture layout and daily route through the room. In the example above, the panels stack to the right, away from the dining table and towards a planted boundary. This leaves the clearest path from the kitchen-diner to the main patio seating area.
It is worth standing in the proposed room, even before building work begins, and imagining the route with plates, drinks or children’s bikes. The opening should lead naturally towards the part of the garden you use most. If the doors stack on the wrong side, the clear opening can feel less useful than it appeared on a plan.
A fixed panel can also be positioned to frame a favourite view, such as a mature tree or a landscaped seating area. This is one reason sliding doors are particularly effective in extensions with a considered garden design. When shut, the door system becomes part of the view rather than simply a route outside.
Get the threshold and floor level right
A flush or low threshold is one of the details that gives an extension a high-quality finish. It helps the internal floor flow towards the patio and makes access easier for pushchairs, wheelchairs and busy family life. But it must be planned properly, not added as an afterthought.
The external patio level, drainage falls, internal finished floor level and door cill detail all need to work together. If the patio is set too high, rainwater management becomes difficult. If it is too low, you may end up with an awkward step that undermines the inside-outside effect you were aiming for.
Your builder should coordinate this early with the door specification. A suitable drainage channel is often needed outside a low threshold, particularly on exposed elevations. The final detail must also meet Building Regulations requirements and account for the specific sliding door system being installed.
Specify glass for comfort, not just appearance
Large glazed doors need to do more than look good. In a west- or south-facing kitchen extension, solar gain can be substantial. A room that feels bright in spring may become uncomfortable on a hot July afternoon if the glass and shading have not been considered.
Modern double or triple glazing with low-emissivity coatings can improve thermal performance, while solar-control glass can help reduce overheating. The best option depends on orientation, rooflights, overhangs, nearby trees and how much direct sun the rear of the property receives. Triple glazing can offer improved insulation and acoustic benefits, although it adds weight and may affect panel-size options and cost.
Frame colour deserves the same thought. Anthracite grey and black remain popular because they give a crisp architectural outline, especially alongside pale render or brick. Softer greys, bronze tones and textured finishes can be better suited to traditional properties or warmer interior schemes. Choose a colour that works with the window frames, rooflight and external details, rather than treating the doors as an isolated purchase.
Do not overlook structure, ventilation and privacy
Wide rear openings usually require structural support above, often steel. The depth of the steelwork can affect head height, rooflight positioning and the visible proportion of the door frame. A structural engineer should establish the required support before door sizes are locked in.
Ventilation is another practical consideration. Large sliding doors provide excellent purge ventilation when open, but kitchens also need compliant background and extract ventilation. Do not assume an opening door alone resolves the full requirement. Your designer or building control professional can advise on the approach for the extension.
At night, large panes of glass become reflective. If the garden is overlooked, consider where internal lighting, dining furniture and blinds will sit. Integrated blinds are not always appropriate for every sliding door system, but curtains, roller blinds or external shading can add privacy and help control glare.
Turning the idea into a buildable specification
Start with the architectural opening size rather than a rough measurement of the existing wall. Confirm the finished floor level, reveal depth, structural allowance and whether the dimensions are brick-to-brick or the final clear aperture. A few millimetres can matter when a made-to-measure sliding door is being manufactured.
Then choose the configuration, opening direction, colour, glazing and handle finish as one package. Request technical details for sightlines, thermal performance, threshold options and maximum panel dimensions. This gives homeowners confidence and helps installers avoid assumptions on site.
For projects across the UK, Horizon Windows and Doors can help make sense of these choices before an order is placed, with bespoke glazed systems and specification support suited to both homeowners and trade professionals. A clear plan now means the finished extension can deliver the light, access and everyday comfort you imagined from the first sketch.