


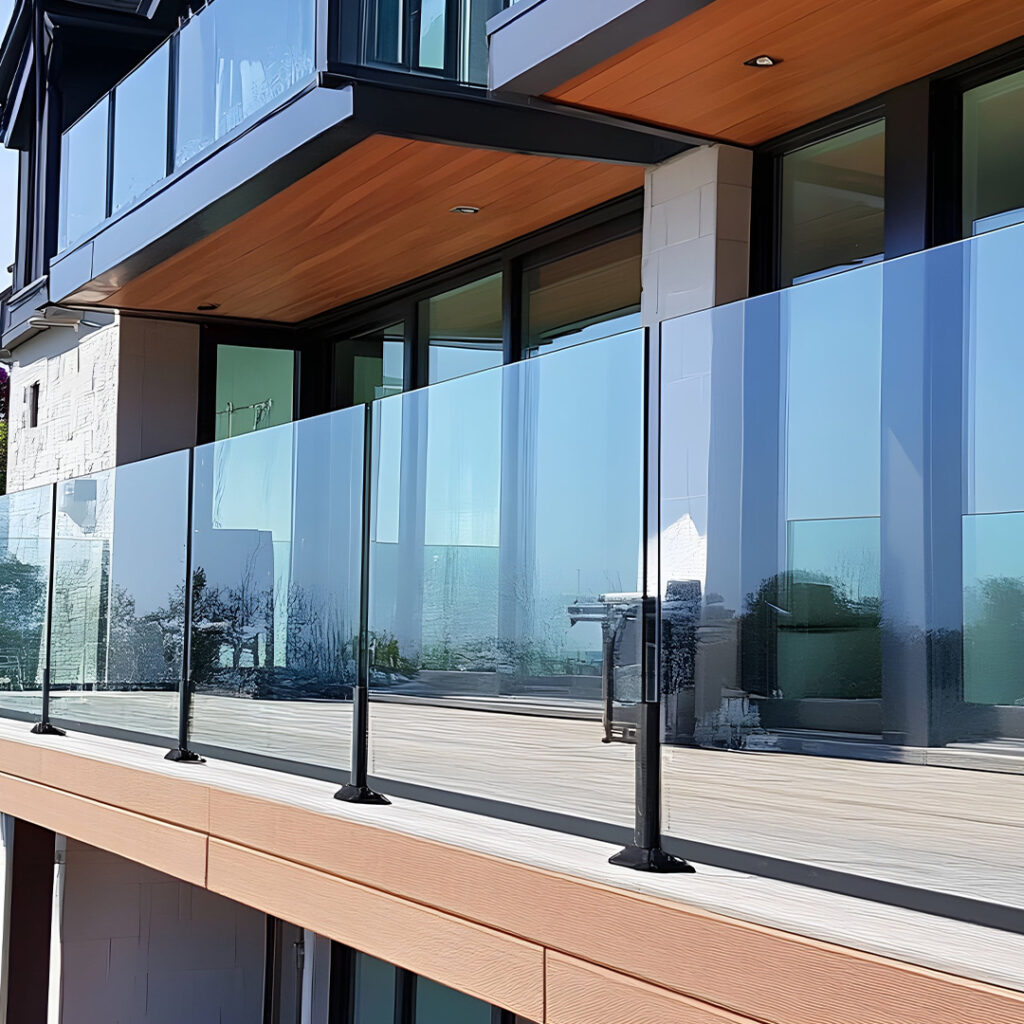
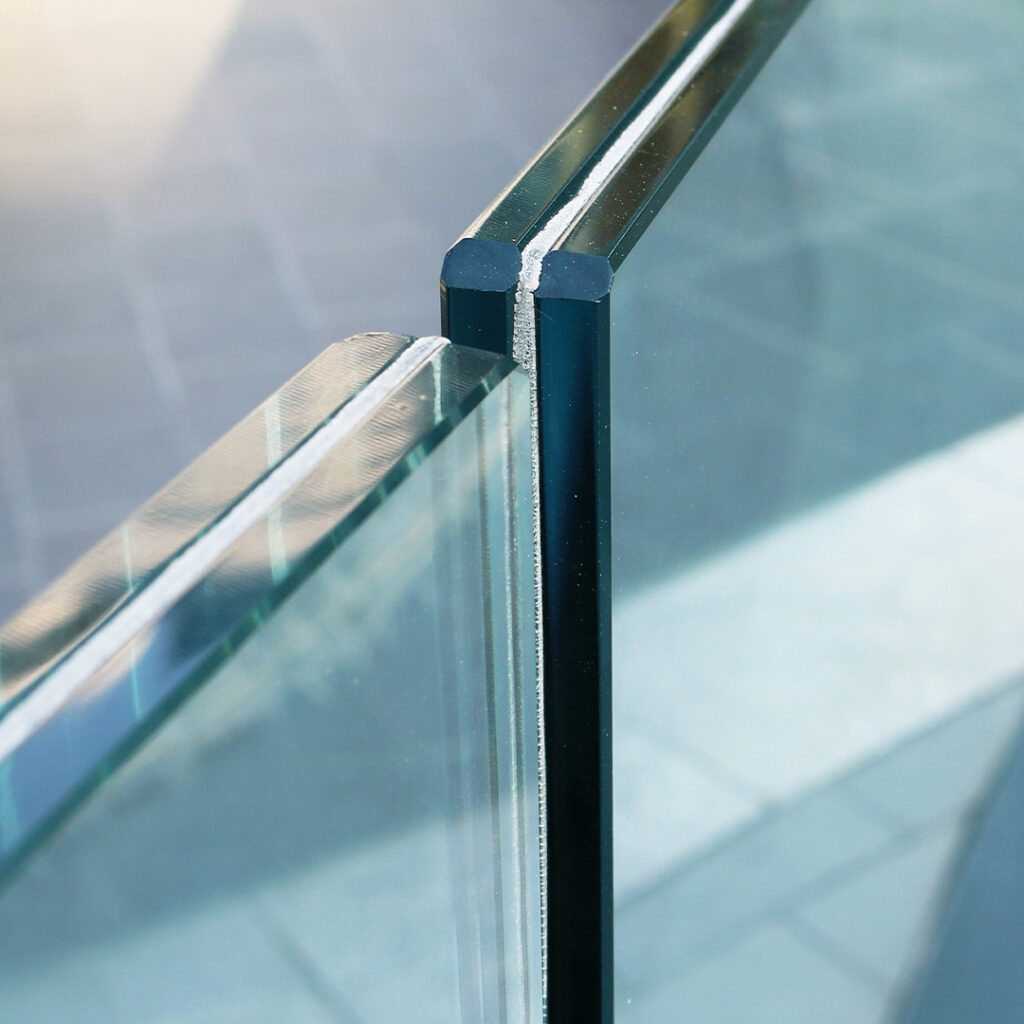
A glass balustrade can make a raised deck, balcony, staircase or terrace feel noticeably bigger without compromising the view. But knowing how to install glass balustrades correctly is about far more than setting glass into a channel. The system has to resist impact, prevent falls and remain secure through changing weather, everyday use and movement in the structure beneath it.
For straightforward, ground-level applications, a capable DIYer may be able to complete the work using a purpose-designed kit. For balconies, roof terraces, staircases and any installation where a fall could cause serious injury, professional specification and fitting are often the sensible choice. The finish may look minimal, but the planning behind it should be anything but.
Choose the right glass balustrade system first
Installation starts with choosing a system that suits the setting and the substrate. A frameless base-channel balustrade creates the cleanest, most open appearance, with toughened laminated glass secured in an aluminium channel. Post-and-clamp systems use metal posts to support each panel and can be a practical choice where the fixing surface or budget does not suit a fully frameless design.
There are also side-fixed systems, where the channel or brackets are mounted to the vertical face of a deck or balcony rather than its top surface. This can preserve valuable usable floor space and produce a sharper architectural look. However, side fixing transfers significant load into the structure, so it needs especially careful assessment.
Do not select glass thickness, panel size or fixings by appearance alone. A balustrade system should be engineered as a complete solution, with its specified glass, channel or posts, packers, wedges, handrail and anchors working together. Mixing components from different systems can invalidate performance information and create an unsafe installation.
Check the structure and regulations before ordering
The surface underneath the balustrade matters as much as the glass above it. Concrete, steel and suitably designed timber can all support a balustrade, but each requires different anchors and fixing methods. Deck boards alone are not a structural fixing point. If you are fitting to a timber deck, fix through the finished decking into substantial joists, noggins or a purpose-built supporting frame.
For masonry and concrete, check the condition, depth and edge distance of the material before drilling. Old, cracked or lightweight blockwork may not be suitable for the loads involved. Waterproofing layers, insulation and screeds on balconies or roof terraces also need attention, as drilling through them without a suitable detail can lead to leaks that are expensive to trace and repair.
In the UK, guarding around raised areas is generally subject to Building Regulations requirements. Required balustrade height, loading and glass specification vary according to the location and use of the area. Staircases, domestic balconies, communal spaces and commercial projects do not necessarily follow the same criteria. Check the current requirements with Building Control where applicable, and always follow the technical documentation supplied for the chosen system. If there is any uncertainty over the supporting structure or compliance, involve a structural engineer or experienced installer before work begins.
Measure the run accurately
Glass does not forgive inaccurate measuring. Measure the full balustrade line at several points, not just once from end to end. Walls may not be square, deck edges may wander and finished floor levels can vary more than expected across a long terrace.
Mark the position of every channel length, post or bracket before drilling. Allow for end caps, corner details, expansion gaps and the manufacturer’s recommended spacing between glass panels. On a base-channel system, the line must be straight and level. On stairs, establish the pitch first and use the system’s dedicated stair components rather than trying to adapt a level-run detail.
It is worth making a simple setting-out drawing that records the overall run, return panels, corners, gates and obstructions such as downpipes. This gives you a final opportunity to check that panel sizes are practical to handle and that all fixings land on suitable structural material.
Tools and preparation for installing glass balustrades
The exact tools depend on the system and substrate, but a laser or long spirit level, tape measure, straightedge, drill, correct drill bits, torque wrench and quality sealant gun are commonly needed. You will also need clean glass suction lifters, protective gloves and a safe place to store panels upright before installation.
Never lay glass flat on bare concrete, paving or decking. Place it on padded timber bearers or the packaging supports provided, keep it dry and protect the edges from knocks. Toughened laminated glass is exceptionally strong in service, but a damaged edge can compromise a panel before it reaches its final position.
Read the installation instructions from beginning to end before opening the glass. Check the delivery against the packing list, including channels, end caps, cover trims, gaskets, packers, wedges, bolts and handrail components. A missing small part can stop the job at the point where accurate alignment matters most.
How to install glass balustrades step by step
Set out and secure the channel or posts
Transfer your measured line onto the substrate, then dry-position the channel or posts to confirm the layout. Drill only after checking levels, clearances and the location of structural supports. Remove drilling dust from holes before fitting anchors, especially where chemical fixings are specified.
Secure each section using the exact fixing type, diameter, spacing and tightening torque stated by the system manufacturer. Do not substitute generic screws or reduce the number of fixings to save time. On a long run, check for level and straightness repeatedly as you work rather than assuming later sections will correct an early error.
If the system includes drainage holes or channels, keep them clear. Frameless channels installed outdoors need to manage water effectively, particularly on exposed balconies and terraces.
Position the glass panels
Fit the specified setting blocks, packers or gaskets before lifting a panel into place. Use two people for larger panes and keep hands clear of the bottom edge as the glass is lowered. Suction lifters improve control, but they are an aid to handling, not a reason to attempt a panel that is too heavy for the team available.
Once the panel is in position, use the adjustment wedges or clamps provided by the system. The goal is an even gap between panels, a consistent top line and glass that is plumb or set to the manufacturer’s stated tolerance. Work along the run methodically, checking each panel against the previous one.
Avoid forcing a panel into alignment by overtightening clamps or hammering wedges beyond the installation guidance. If a panel will not sit correctly, stop and identify whether the channel is out of level, the substrate is uneven or the wrong packer has been used.
Add handrails, trims and finishing details
Some balustrade designs require a handrail to meet their tested performance criteria, while others may be specified without one. Where a handrail is included, fit it using the correct connectors and ensure joints are neat, secure and protected from water ingress where required.
Finish the channel with its gaskets, cover trims and end caps. Apply sealant only where the manufacturer specifies it, using a compatible external-grade product. More sealant is not always better: blocked drainage paths and untidy edges can spoil both performance and appearance.
Remove protective film last, then clean the glass with a non-abrasive cleaner and soft cloth. Avoid aggressive solvents or metal scrapers around gaskets, coated aluminium and glass edges.
Carry out a final safety check
Before the balustrade is put into use, inspect the full installation in good light. Confirm that every anchor is tightened to the stated torque, gaps are even, panels are secure and no glass edge is chipped. Check that trims are fully seated, drainage routes are open and any handrail is firmly connected.
Do not use the balustrade as a test bench, lean ladders against it or load it with planters until you are confident the structure and system have been completed correctly. For trade installations, keep the product instructions, glass identification and fixing records with the project file. They are useful evidence of the specification used and make future maintenance simpler.
A well-installed glass balustrade should feel almost invisible from a distance, letting light and views do the work. Give the measuring, structural checks and system-specific details the attention they deserve, and the result can brighten your home while providing dependable protection for years to come.