





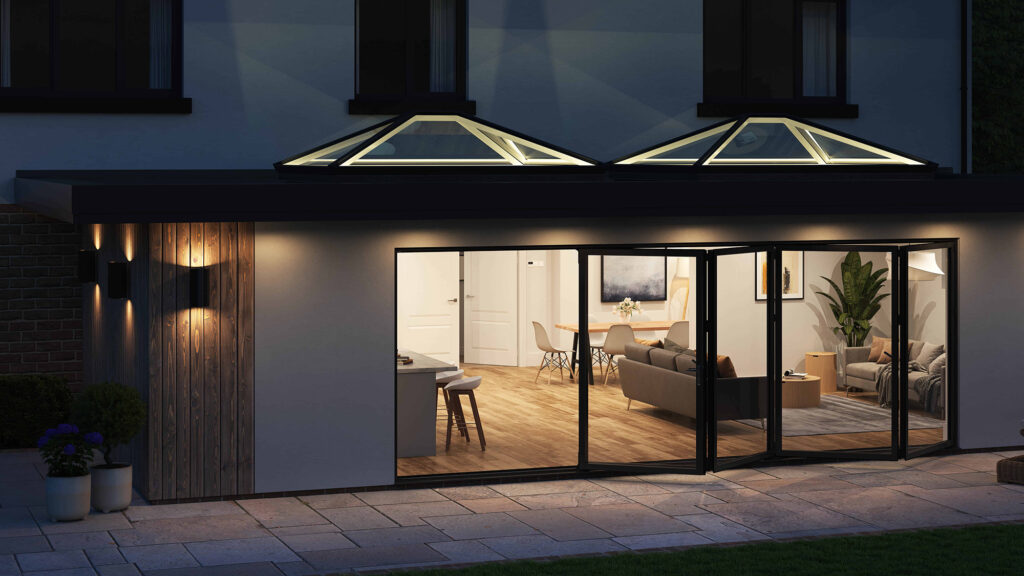
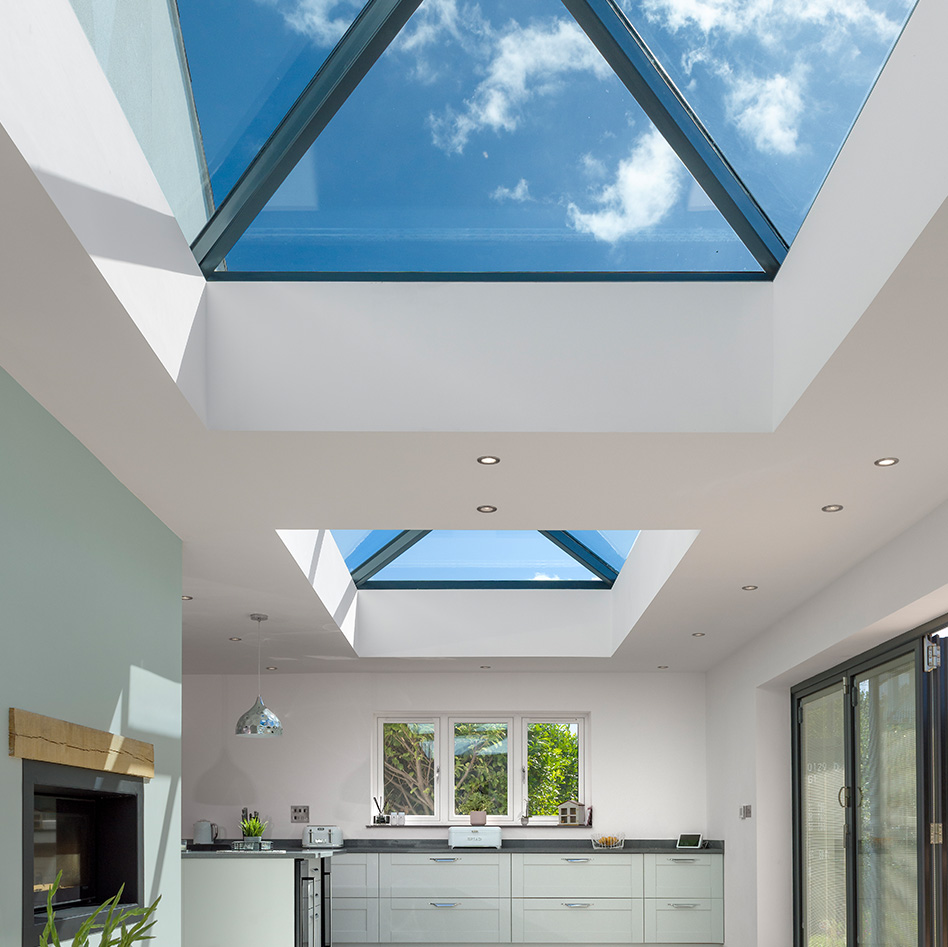

A ceiling stain below a new extension can quickly raise the question: can roof lanterns leak? The honest answer is yes, any roof opening can leak if it is poorly specified, incorrectly installed or allowed to deteriorate. A quality roof lantern, fitted into a correctly formed flat roof by a competent installer, should provide many years of reliable weather protection.
The key is to separate the product from the installation. Roof lanterns are engineered with glazing seals, drainage routes and secure frame connections designed to manage British weather. Most reported leaks come from the junction between the lantern and the roof, rather than water passing directly through the glass or frame.
Can roof lanterns leak after installation?
A roof lantern is not inherently prone to leaking. Modern aluminium systems are designed for exposed roof positions, where they must handle persistent rain, wind-driven water and changing temperatures. However, performance depends on the complete roof build-up: the upstand, waterproof membrane, flashing details, fixings and the lantern itself must all work together.
This is why a premium lantern cannot compensate for a rushed installation. If the roof deck has been poorly prepared, the upstand is the wrong height, or the membrane has not been correctly dressed and sealed, water can find a route into the structure. It may appear several inches away from the actual fault, which can make diagnosis difficult.
A leak is also not always immediate. Some issues only show up during heavy, wind-driven rain, while others develop gradually as sealants age or movement affects the roof junction. Early investigation is worthwhile. Water entering a flat roof structure can damage insulation, plasterboard and timber long before the visible stain becomes significant.
The most common causes of roof lantern leaks
Incorrect upstand design
The upstand is the raised kerb that the roof lantern sits on. It creates the transition between the flat roof and the glazed unit, keeping the frame above the roof surface and allowing the waterproofing to turn up securely.
If an upstand is too low, uneven, out of square or poorly insulated, it can create problems with weathering and thermal performance. The exact required height and detail depend on the roof covering and lantern system, so installers should always work from the manufacturer’s technical guidance rather than relying on a generic detail.
A level, square and structurally sound upstand gives the lantern a stable base. It also helps the glazing and seals perform as intended, particularly on larger bespoke roof lanterns where accuracy matters even more.
Poor membrane or flashing detail
In many cases, the roof covering is the real source of water ingress. Whether the roof uses EPDM, GRP, felt or another flat-roof system, the membrane must be fully bonded, properly terminated and carried up the upstand to the correct height.
Weak points often occur at corners, seams and termination bars. A small gap or poorly sealed join can admit water during a downpour. Water may then track underneath the roof covering before emerging inside around the lantern opening.
The lantern should be installed after the roof waterproofing has been completed to the specified detail. This sequencing is easy to overlook on busy projects, but it is fundamental to a dry, durable result.
Incorrect fitting or over-tightened fixings
Roof lantern frames are precision-made components. They need to be positioned correctly, fixed in accordance with the fitting instructions and sealed only where the system requires it. Over-tightening fixings can distort frame sections or compress gaskets unevenly. Under-fixing can allow movement over time.
Adding sealant everywhere is not a reliable cure either. Roof lantern systems often include designed drainage channels. Blocking these routes with excess sealant can prevent water from draining properly and may make a fault harder to identify later.
Damaged seals, caps or glazing components
Glazing seals and external caps protect the joints between the glass and frame. Damage during installation, a missing component or an incorrectly seated gasket can allow water to bypass the intended weather seal.
This is less common with a carefully fitted new system, but it is worth checking if a leak appears to be coming from a glazing bar or frame joint. Replacement parts should match the lantern manufacturer’s system. Improvised repairs can affect appearance, drainage and warranty cover.
Movement in the roof structure
Extensions and garden rooms can experience minor settlement, while timber roof structures naturally respond to changes in temperature and moisture. A small amount of movement is normal, but excessive deflection or an inadequate supporting structure can stress the lantern perimeter and waterproofing junction.
This is particularly relevant for large lanterns, lanterns installed close to roof edges, or projects where the opening has been altered after the original roof was built. The opening and support should be checked before ordering, not adjusted to fit the product on site.
Condensation is not the same as a leak
Water on the inside of the glass is not automatically evidence that a roof lantern is leaking. Condensation forms when warm, moisture-rich indoor air meets a colder glazed surface. Kitchens, open-plan living spaces, newly plastered extensions and rooms used for drying clothes are common locations for it.
Modern double-glazed roof lanterns with thermally broken aluminium frames help reduce internal surface temperatures and improve comfort. Yet even high-performing glazing can show condensation when indoor humidity is high and ventilation is limited.
The clues are usually clear. Condensation tends to appear as droplets across the internal glass, often in the morning or after cooking. A leak is more likely to create a localised damp patch around the frame, a stain on the ceiling, bubbling paint or water that worsens after rainfall.
If moisture is trapped between the panes of glass, that points to a failed sealed unit rather than a roof leak. It will normally require replacement glazing, not a repair to the roof covering.
How to reduce the risk of a leaking roof lantern
The best prevention starts before the roof lantern is ordered. Choose a system designed for residential flat roofs, with clear technical information and compatible installation details. Consider the size, roof build-up, roof covering and intended room use as part of one specification, rather than treating the lantern as a standalone finishing item.
For homeowners, the most valuable step is appointing an experienced installer with a strong track record in flat roofs and glazed roof products. Ask how the upstand will be formed, what waterproofing system will be used and whether the installer is following the lantern manufacturer’s instructions. These are practical questions, not unnecessary technicalities.
For trade professionals, accurate setting out is essential. Check the structural opening, finished upstand dimensions and diagonals before delivery or installation. Keep the lantern protected from site damage, use the specified fixings and avoid substituting components unless the manufacturer has approved them.
Regular visual checks can also prevent a minor issue becoming a costly repair. After severe weather, look for damaged roof membrane, lifting edge trims, debris around the lantern perimeter or loose external caps. Avoid walking on the lantern or placing ladders directly against the frame or glazing.
What to do if your roof lantern is leaking
First, protect the room below and take photographs of the affected area, especially during or shortly after rainfall. Do not simply apply silicone to the visible internal joint. Water can travel through the roof construction, and sealing the wrong area may conceal the route without addressing the cause.
An installer or flat-roof specialist should inspect the roof covering, upstand, frame perimeter, drainage paths and glazing seals. If the lantern is recently installed, contact the original supplier or installer promptly and retain order details, installation records and photographs. This helps establish whether the issue relates to the product, fitting or wider roof construction.
If the leak follows a period of extreme weather, the repair may be straightforward, such as restoring a membrane detail or replacing a damaged cap. Where there is evidence of structural movement or widespread roof-covering failure, a broader repair may be needed. A proper assessment avoids spending money on a temporary patch.
A bright extension should also feel dependable
A roof lantern should maximise light and create a more open, impressive living space without creating a maintenance worry. Selecting a well-engineered system is a strong start, but the long-term result comes down to careful specification and precise installation. When the roof, upstand and lantern are treated as one complete weatherproofing detail, you can enjoy the view upwards with confidence – whatever the forecast brings.