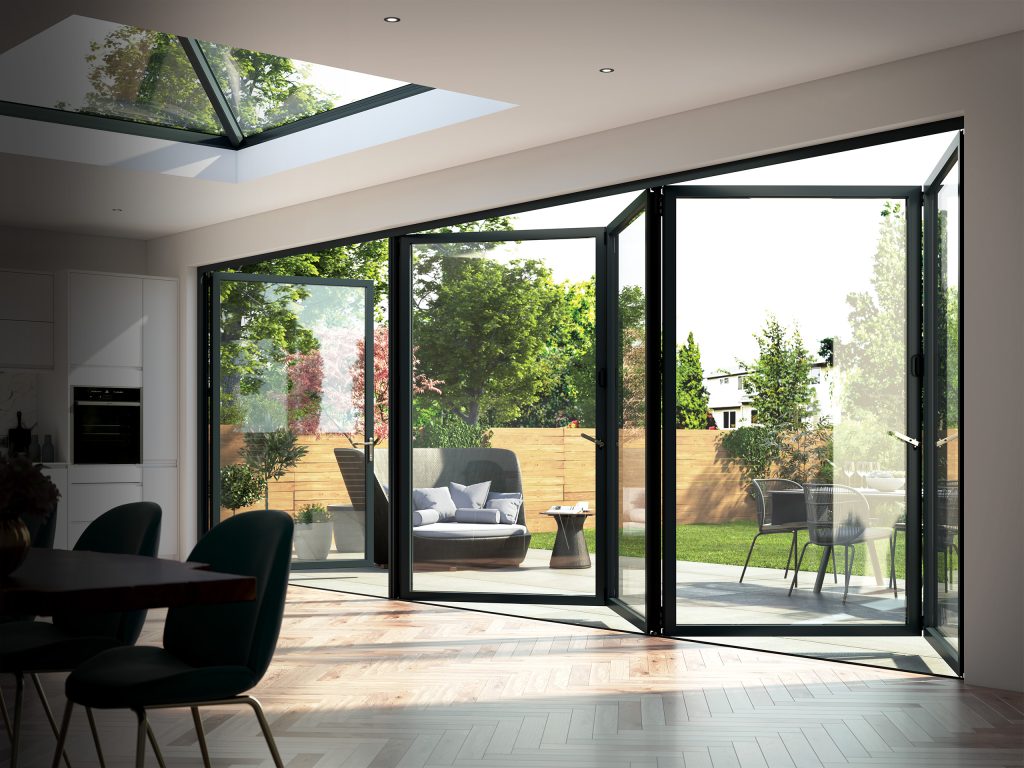
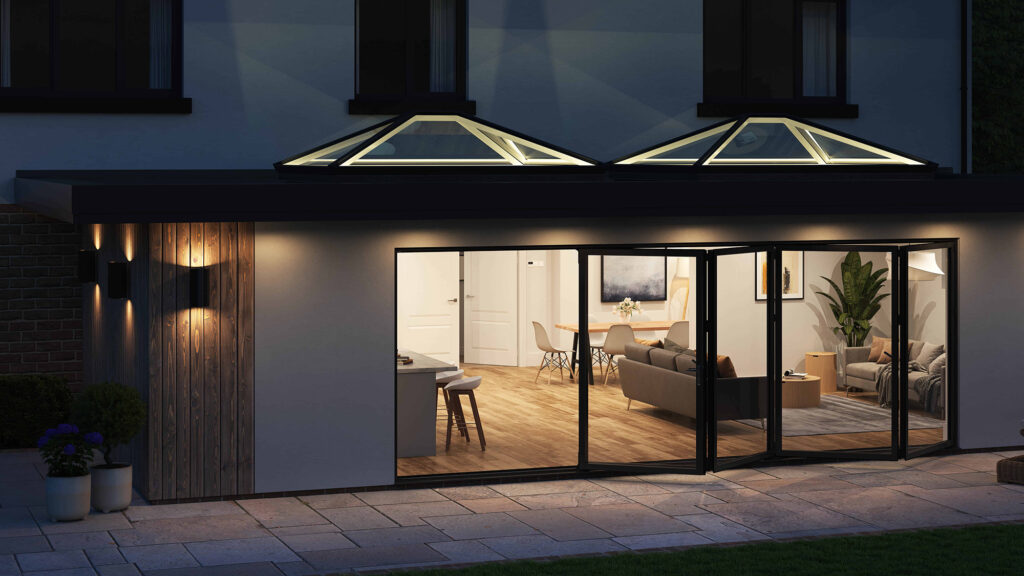
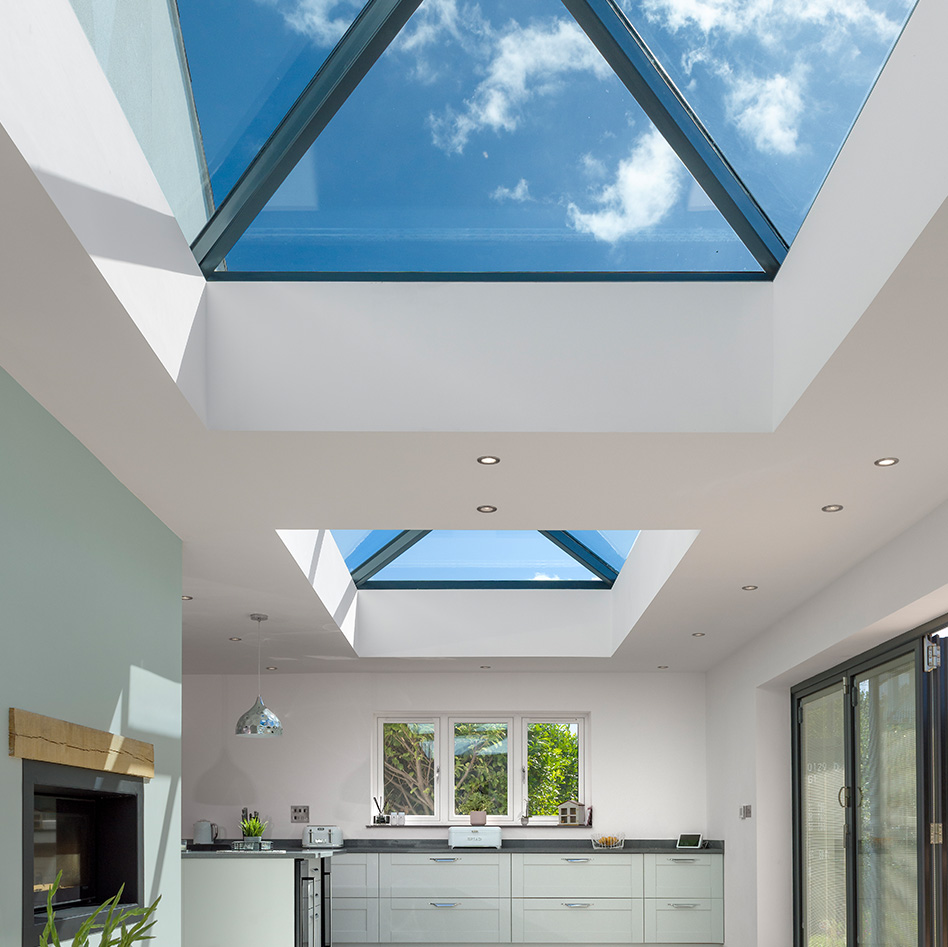
A roof lantern is often the feature that makes an extension feel generous rather than enclosed. But to specify a roof lantern for an extension properly, it needs to do more than look impressive on a drawing. The dimensions, glazing, kerb, roof structure and orientation all affect how it performs once the room is being used every day.
For a kitchen-diner, garden room or open-plan rear extension, the right lantern can brighten the deepest part of the layout, create a stronger connection to the garden and add a clean architectural focal point. The wrong specification can introduce unwanted solar gain, awkward detailing or a roof opening that costs more to resolve on site.
Start with the room, not the roof lantern
The best size is not simply the largest lantern the roof can accommodate. Start with how the extension will be arranged and where daylight is needed. A lantern above a dining table or central kitchen island creates a clear visual centre, while one positioned closer to the original rear wall can bring light into the darker middle of a deep extension.
As a broad design principle, a roof lantern should feel proportionate to the roof area beneath it. A small unit on a large flat roof can look lost, while an oversized lantern may dominate the elevation and reduce the insulated roof area needed for strong thermal performance. Sightlines from inside matter too. Consider what occupants will see when seated at the dining table or standing at the kitchen worktop, rather than judging the design only from a plan view.
For wider extensions, a single large lantern can create a striking result. In other layouts, two smaller roof lanterns may distribute natural light more evenly and work better with structural steels, ceiling zones or lighting positions. This is one of the points where early coordination between homeowner, designer, builder and supplier pays off.
How to specify a roof lantern for an extension
Every roof lantern should be specified around the structural opening and the upstand or kerb it will sit on. These measurements are not always the same as the overall external product dimensions, so avoid ordering from a rough roof sketch alone.
Confirm whether the stated size refers to the roof opening, internal kerb dimensions, external kerb dimensions or the lantern footprint. Your builder will need the correct construction detail before the flat roof is formed. A made-to-measure product offers greater freedom, particularly where the lantern needs to align with doors below, suit an unusual roof shape or accommodate a specific steel layout.
The kerb itself is critical. It must be square, level and built to the required height and pitch for the chosen system. It also needs to integrate correctly with the roofing membrane and insulation. A high-quality lantern cannot compensate for a poorly prepared upstand, so share the manufacturer’s technical drawings with the roofer and installer before work starts.
Most roof lantern systems are designed with a shallow pitch that helps water run off the glazing and maintains their elegant profile. The exact pitch range differs by product, which is why selecting the system before the roof is completed is far safer than trying to make a preferred lantern fit afterwards.
Check structure and loading early
A roof opening interrupts the flat roof structure, and the surrounding roof must transfer loads safely around it. This is particularly relevant for large glazed spans, exposed locations and extensions with substantial roof build-ups. Your structural engineer or building designer should confirm the required trimming details, joist arrangement and any steelwork.
Do not assume a lighter-looking aluminium lantern has no structural implications. The glass, frame, wind loading and snow loading all need consideration. This is routine for a competent designer and builder, but it should happen before fabrication rather than during installation.
Choose glazing for orientation and comfort
Glazing choice has the greatest effect on how comfortable the extension feels in summer and winter. A lantern facing north is likely to provide consistent, cooler daylight. South-facing and west-facing roofs can receive much stronger sun, especially in kitchen extensions where cooking already raises the room temperature.
For many projects, high-performance double glazing offers an excellent balance of insulation, weight and value. Triple glazing may improve thermal performance in some cases, but it also adds weight and can reduce solar gain and visible light. It is not automatically the best answer for every roof lantern.
Solar-control glass is worth considering for south- and west-facing extensions, large glazed areas or rooms with limited shade. It helps reduce the amount of solar energy entering the space, although stronger solar coatings can slightly alter the appearance of the glass and reduce daylight transmission. The ideal choice depends on the extension’s orientation, ceiling height, amount of vertical glazing and how the room is used.
Ask for whole-product thermal values where available, rather than focusing only on the centre-pane value of the glass. Frame design, edge spacers and the kerb connection influence real-world performance. Overhead glazing must also meet relevant safety requirements, commonly using toughened, laminated or a specified combination of safety glass depending on the system and location.
Frame colour, sightlines and roof design
Anthracite grey, black and white remain popular choices because they work with many window and door systems. Matching the roof lantern to aluminium bifolds, sliding doors or windows gives the extension a more considered finish, especially where the lantern is visible from the garden.
Colour should not be chosen in isolation. Check the finish of the external doors, guttering, fascias and any existing window frames in natural light. A black lantern can give a crisp contemporary look, while grey often feels softer against brick, render and tiled roofs. White may be the better option for a lighter internal ceiling line, particularly in smaller spaces.
Sightlines matter as much as colour. Slim rafters and minimal internal bosses allow the glass to take the lead, making the roof feel less interrupted when viewed from below. However, very large lanterns may require more divisions for structural reasons. A good specification balances the cleanest possible appearance with the size, glass load and performance required.
Do not overlook ventilation, shading and maintenance
A fixed roof lantern is excellent for daylight, but it does not provide ventilation on its own. If the extension includes a kitchen, consider the wider ventilation strategy from the start. Opening doors, extractor systems, trickle ventilation where applicable and opening rooflights can all play a part. A lantern can sit alongside an opening flat rooflight where purge ventilation is needed, rather than being expected to solve every requirement itself.
Internal blinds can soften glare and add privacy, but they are usually less effective than external shading at preventing solar heat from entering the room. In many UK extensions, solar-control glass, sensible glazing proportions and opening doors are enough. For highly glazed south-facing spaces, it may be worth discussing blinds or external shading during the design phase, when controls and power supplies can be planned neatly.
Maintenance is straightforward but should be realistic. Rain will keep much of the outer glass clean, yet low-pitched glazing can still collect dust, pollen and leaves. Choose a lantern with accessible detailing and keep gutters, roof outlets and surrounding roof finishes clear. Avoid placing it directly beneath overhanging trees if possible.
Planning permission and Building Regulations
Many single-storey rear extensions can be built under permitted development, but the rules depend on the property type, location, dimensions and previous alterations. Conservation areas, listed buildings and restrictive planning conditions may require a different approach. A roof lantern can also affect the overall height of the extension, so it should be included in the proposal from the outset.
Building Regulations remain relevant even where planning permission is not needed. Thermal performance, structural support, weathering, ventilation and safety glazing all require proper consideration. Your designer, building control body and installer can confirm the requirements for the project. Technical documents should be reviewed before ordering, not saved for installation week.
Build a specification your installer can use
A clear order brief reduces delays and avoids expensive assumptions. Confirm the structural opening size, kerb detail, external frame colour, internal finish, glazing type, roof pitch, product weight, access route and preferred delivery date. For trade buyers, it is also sensible to check whether the unit will arrive assembled or require on-site glazing, as this affects handling and labour planning.
Lead times can vary with size, colour, glass specification and seasonal demand. Ordering too early can create storage and damage risks, while ordering too late can hold up the roof covering and internal programme. Set the delivery date around a completed, measured roof opening and a team ready to install.
Horizon Windows and Doors can help homeowners and trade professionals compare roof lantern options, technical details and bespoke configurations before a final decision is made. The strongest result comes from treating the lantern as part of the extension’s full design, rather than a finishing touch added after the roof is built.
A well-specified roof lantern should make the room brighter without making it harder to heat, cool or maintain. Give the opening, glazing and installation details the same attention as the doors below it, and the finished extension will feel considered from every angle.